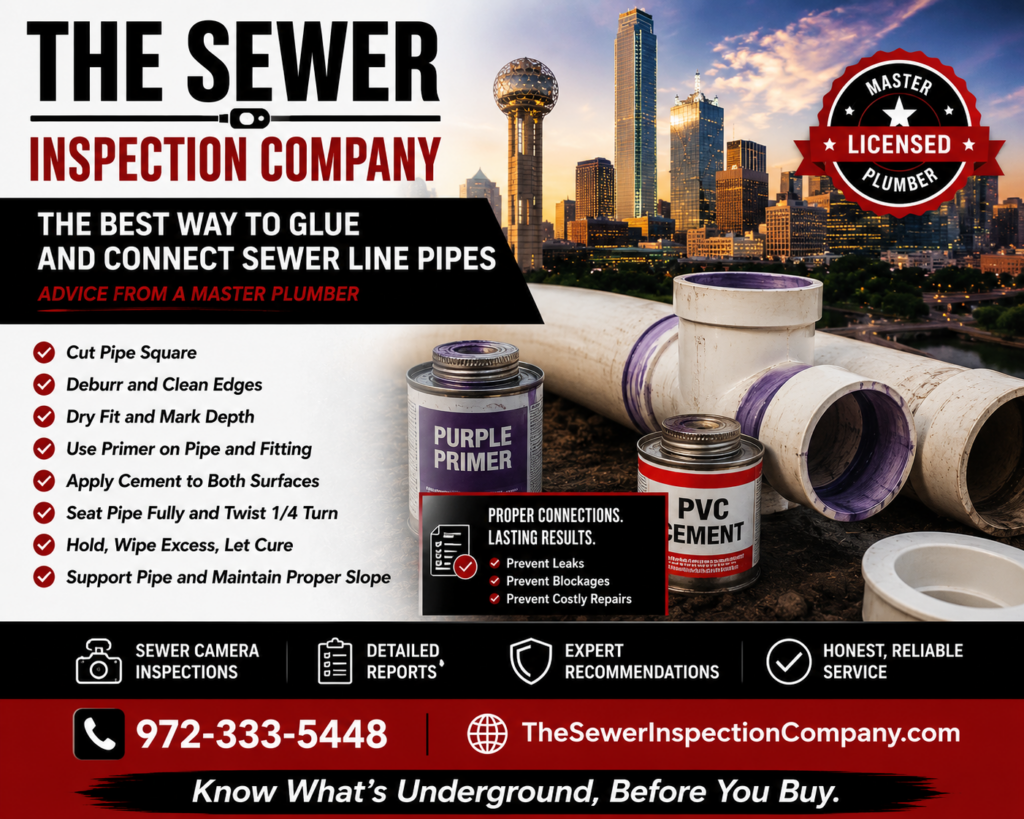
The Best Way to Glue and Connect Sewer Line Pipes
Advice from a Texas Master Plumber
Know What’s Underground, Before You Buy.
Connecting sewer line pipe is not just about pushing two pieces of pipe together and adding glue. A sewer line connection must be clean, square, properly primed, fully seated, correctly sloped, and properly supported. If the joint is rushed or installed wrong, it can leak, separate, hold water, catch debris, or create a future blockage point.
As a Master Plumber, I can tell you that many sewer line failures are not caused by the pipe itself. They are caused by bad connections, poor bedding, improper slope, rushed glue joints, or fittings that were not installed correctly. A good sewer repair is built one proper joint at a time.
The Big Rule
A sewer pipe connection should be clean, dry, square-cut, fully primed, properly glued, fully seated, held in place, supported underneath, and installed at the correct slope.
Why Sewer Pipe Connections Matter
Sewer lines work by gravity. Wastewater and solids need a smooth, properly sloped pipe to move from the house to the city tap or septic system. Every joint matters because every joint is a possible problem point if it is not installed correctly.
A bad sewer line connection can create:
- Leaks
- Pipe separation
- Offsets between pipe sections
- Root intrusion points
- Standing water
- Sewer bellies
- Recurring stoppages
- Failed inspections
- Future excavation and repair costs
The connection is not a small detail. It is one of the most important parts of the sewer repair.
Know What Type of Pipe You Are Connecting
Before making any sewer line connection, you need to know what material you are working with. Common sewer line materials include PVC, ABS, cast iron, clay, and older pipe systems.
PVC sewer pipe is common in modern repairs. It is usually joined with primer and solvent cement. ABS is usually joined with ABS cement. Cast iron, clay, and dissimilar materials are usually connected with approved shielded transition couplings, not regular glue.
This matters because the wrong glue, the wrong coupling, or the wrong transition can create a weak joint. A sewer connection needs to match the pipe material and be approved for the application.
Master Plumber Tip
Do not use a random rubber coupling just because it fits. Underground sewer transitions should use the proper listed coupling for the pipe materials being connected, and the coupling should be installed according to manufacturer requirements.
Step 1: Cut the Pipe Square
The first step is a clean, square cut. If the pipe is cut crooked, the joint may not fully seat inside the fitting. That can create a weak connection or a small ledge inside the pipe where debris can catch.
A proper cut should be:
- Straight
- Square to the pipe
- Free of cracks
- Free of broken edges
- Long enough to fully seat into the fitting hub
A crooked cut is a rookie mistake. Take the extra minute and cut the pipe correctly.
Step 2: Deburr and Bevel the Pipe Edge
After cutting the pipe, the edge should be cleaned up. Burrs, plastic shavings, and sharp edges can interfere with the joint. They can also create small catch points inside the sewer line.
The outside edge of the pipe should be lightly beveled so it enters the fitting smoothly. The inside edge should be cleaned so there are no plastic shavings or ridges.
This is one of those simple steps that separates good work from rushed work.
Step 3: Dry Fit the Pipe and Fitting
Before primer or glue is applied, the pipe and fitting should be dry fitted. This confirms that the pipe reaches the proper depth inside the fitting and that the alignment is correct.
During dry fitting, check:
- Pipe length
- Fitting direction
- Slope
- Alignment
- Depth of insertion
- Clearance around the pipe
- Connection to existing pipe
Once solvent cement is applied, you do not have much time to think. Dry fitting lets you solve the problems before the joint becomes permanent.
Step 4: Mark the Pipe Depth and Alignment
A professional installer will often mark the pipe so they know how far it needs to enter the fitting. This helps confirm that the pipe is fully seated after the glue joint is made.
You can also mark the alignment of the fitting, especially when installing wyes, cleanouts, sweeps, or directional fittings. This prevents the fitting from being twisted into the wrong position after glue is applied.
Sewer fittings are directional. A fitting that is turned wrong can create service problems later.
Step 5: Use the Correct Primer and Cement
For PVC sewer pipe, primer and solvent cement are commonly used. Primer cleans and softens the pipe and fitting surface. Solvent cement chemically fuses the pipe and fitting together.
The key is using the correct product for the pipe material, pipe size, and conditions. Some cements are rated for different pipe sizes, temperatures, wet conditions, or pressure applications. Always use the correct product for the job.
Do not use old, stringy, dried-out glue. If the cement is thick, chunky, or no longer flows correctly, throw it away. Bad glue makes bad joints.
Do Not Skip Primer
Primer is not decoration. On PVC joints where primer is required, it prepares the pipe and fitting so the solvent cement can properly bond the joint.
Step 6: Apply Primer Correctly
Primer should be applied to both the outside of the pipe and the inside of the fitting hub. The full joining surface needs to be covered. Do not just swipe a tiny amount around the edge and call it good.
The primer should cover the area where the pipe will fully insert into the fitting. If the primer does not reach the full depth of the joint, the cement may not bond evenly.
The goal is a complete, clean, even preparation of both joining surfaces.
Step 7: Apply Cement to Both Pieces
Solvent cement should be applied to the outside of the pipe and the inside of the fitting hub. The pipe usually gets a full even coat, and the fitting hub gets enough cement to bond properly without puddling excessively.
Work quickly. Solvent cement begins working immediately. Once it is applied, insert the pipe into the fitting without delay.
Do not apply glue and then walk away. Do not apply glue and then start measuring. That planning should already be done before the joint is made.
Step 8: Push the Pipe Fully Into the Fitting and Give It a Quarter Turn
After the primer and cement are applied, push the pipe fully into the fitting until it bottoms out in the hub. A slight quarter turn helps spread the cement evenly and improves the bond.
After the pipe is seated, hold the joint for a few seconds. Solvent-welded joints can push back slightly if you let go too soon. Holding the joint helps prevent the pipe from backing out.
Then check your alignment marks and make sure the fitting is pointing in the correct direction.
Step 9: Wipe Excess Cement, But Do Not Disturb the Joint
A clean bead around the joint is normal. Heavy, sloppy glue is not better. Wipe away excessive cement if needed, but do not twist, pull, or disturb the joint after it is seated.
The joint needs time to set. Cure time can vary depending on pipe size, temperature, humidity, and product used.
Follow the manufacturer’s cure time before testing or putting the system into service.
Step 10: Support the Pipe Correctly
A perfect glue joint can still fail if the pipe is not supported correctly. Sewer pipe must be properly bedded and supported so it does not settle, sag, or pull apart.
Underground sewer pipe should be set on proper bedding, not rocks, trash, loose chunks of soil, or uneven trench bottom. The pipe should be supported along its length, especially near fittings and transitions.
If the pipe is left unsupported, it can create a future belly. That is one of the biggest reasons sewer repairs fail over time.
The Pipe Must Be Installed at the Correct Slope
A sewer line must have proper slope. Too flat, and water sits. Too steep, and water can outrun solids. Either condition can create problems.
The correct slope depends on pipe size and code requirements, but the principle is simple: the pipe must maintain consistent positive drainage in the correct direction.
A pipe can be glued perfectly and still fail if it is installed at the wrong grade.
Common Mistakes When Gluing Sewer Pipe
The most common mistakes I see are simple, but they cause big problems.
- Pipe cut crooked
- Pipe not fully seated in the fitting
- No primer used where primer is required
- Wrong glue used for the pipe material
- Old or dried-out solvent cement
- Fitting twisted in the wrong direction
- Pipe installed with poor slope
- No bedding under the pipe
- Backfill not compacted
- Wrong coupling used for dissimilar pipe materials
- Short sweep fittings used where long sweeps are needed
- No cleanout access installed for future service
Most of these mistakes are avoidable. The problem is that underground sewer work is often covered up before anyone sees the defect. That is why inspection, testing, and proper workmanship matter.
Use Proper Cleanouts and Long Sweep Fittings
Cleanouts are not an afterthought. They are how the sewer line will be serviced and inspected in the future.
A properly installed cleanout gives access for sewer cameras, drain machines, hydro jetting, and future diagnostics. When possible, long sweep fittings are preferred because they provide smoother directional changes and better access.
Tight turns, bad fittings, and poor cleanout placement make future sewer work harder and more expensive.
Connecting PVC to Cast Iron, Clay, or Other Pipe
When connecting different pipe materials, glue is usually not the answer. PVC does not glue directly to cast iron or clay. These transitions require the proper approved transition coupling.
For underground sewer work, shielded couplings are commonly used because they help keep the pipe aligned and supported. The correct coupling depends on the outside diameter and material of each pipe.
A poor transition can create an offset. Offsets catch paper, waste, roots, and debris. Over time, they can become a repeated blockage point.
Always Test and Inspect the Repair
After a sewer line repair is made, it should be tested and inspected. Depending on the city and permit requirements, this may include a pressure test, water test, or inspection by the local plumbing inspector.
After the repair is complete, a final sewer camera inspection is also smart. The camera confirms that the pipe is properly connected, flowing correctly, and not holding water in the repaired section.
If the pipe is underground, you want to know it is right before the trench is fully restored.
The Bottom Line
The best sewer pipe connection is not just glued. It is measured, cut square, cleaned, primed, cemented, fully seated, aligned, supported, sloped correctly, inspected, and tested.
Why Hire a Master Plumber for Sewer Line Work?
Sewer line work is underground, expensive, and easy to do wrong. A bad joint may not show up immediately. It may show up months or years later as a blockage, leak, belly, root intrusion point, or failed inspection.
A Master Plumber looks at more than the pipe connection. We look at slope, bedding, support, fittings, transitions, cleanout access, testing, inspection, and long-term serviceability.
When sewer work is done correctly, the customer gets a better repair, fewer future problems, and documentation that the line was repaired properly.
Need a Sewer Line Inspection or Repair Review?
Call The Sewer Inspection Company today.
Know What’s Underground, Before You Buy.
The Sewer Inspection Company
Phone: 972-333-5448
Website: www.TheSewerInspectionCompany.com